Trendy gel nails have evolved far beyond simple color and shine. Today’s most popular looks focus on dimension, texture, and reflective finishes that catch the light in subtle and striking ways. Styles like glazed, velvet, and chrome nails are dominating both salons and social feeds, offering a polished and fashion-forward appearance. While these designs may appear complex, they are surprisingly achievable at home with the right approach and a bit of patience.
Understanding how each finish works is the first step toward recreating these looks successfully. With the right tools, techniques, and attention to detail, you can transform your at-home manicure routine into a creative process that delivers salon-quality results.
Understanding the Glazed Nail Effect
Glazed nails are known for their soft, luminous finish that creates a delicate sheen across the nail surface. This effect is typically achieved using a sheer base color paired with a fine powder that reflects light in a smooth, almost pearlescent way.
To recreate this look at home, start with a clean and well-prepared nail. Apply a neutral or milky gel base color and cure it properly under a lamp. Once the base is set, a thin layer of no-wipe top coat provides the ideal surface for the powder to adhere.
Using a soft applicator, gently rub the powder into the nail until the desired glossy effect appears. The key is to build the shine gradually rather than applying too much product at once. Finish with a final top coat to seal everything in place and enhance durability.
Precision and light pressure are essential for achieving that soft, reflective glow that defines the glazed trend.
Creating the Depth of Velvet Nails
Velvet nails offer a unique visual effect that mimics the texture and movement of fabric. While the surface remains smooth, the finish creates the illusion of depth through light manipulation, often achieved with magnetic gel polish.
To achieve this look, begin with a dark or jewel-toned gel polish as your base. After applying the magnetic gel layer, use a magnet to pull the metallic particles into a pattern. This step requires a steady hand and a bit of experimentation, as the design shifts depending on the direction and strength of the magnet.
Working one nail at a time helps prevent the polish from settling before the effect is set. Once you are satisfied with the design, cure the polish immediately to lock in the pattern.
The beauty of velvet nails lies in their dynamic appearance. As light moves across the surface, the design seems to shift, creating an eye-catching and elegant finish.
Achieving a Mirror-Like Chrome Finish
Chrome nails are bold, reflective, and instantly striking. This trend relies on highly pigmented powders that create a mirror-like surface when applied correctly. Unlike glazed nails, chrome finishes tend to be more opaque and dramatic.
Preparation plays a major role in this technique. A smooth, even base is essential, as any imperfections will be visible through the reflective surface. After applying and curing your base color, use a no-wipe top coat to create the right foundation for the chrome powder.
Apply the powder using a firm applicator, working it into the nail until a reflective finish develops. Buffing gently helps enhance the shine and remove any excess product. Once the desired effect is achieved, seal it with a high-quality top coat to maintain its brilliance.
Having the right gel nail accessories can make this process more efficient, especially when it comes to achieving an even and polished result across all nails.
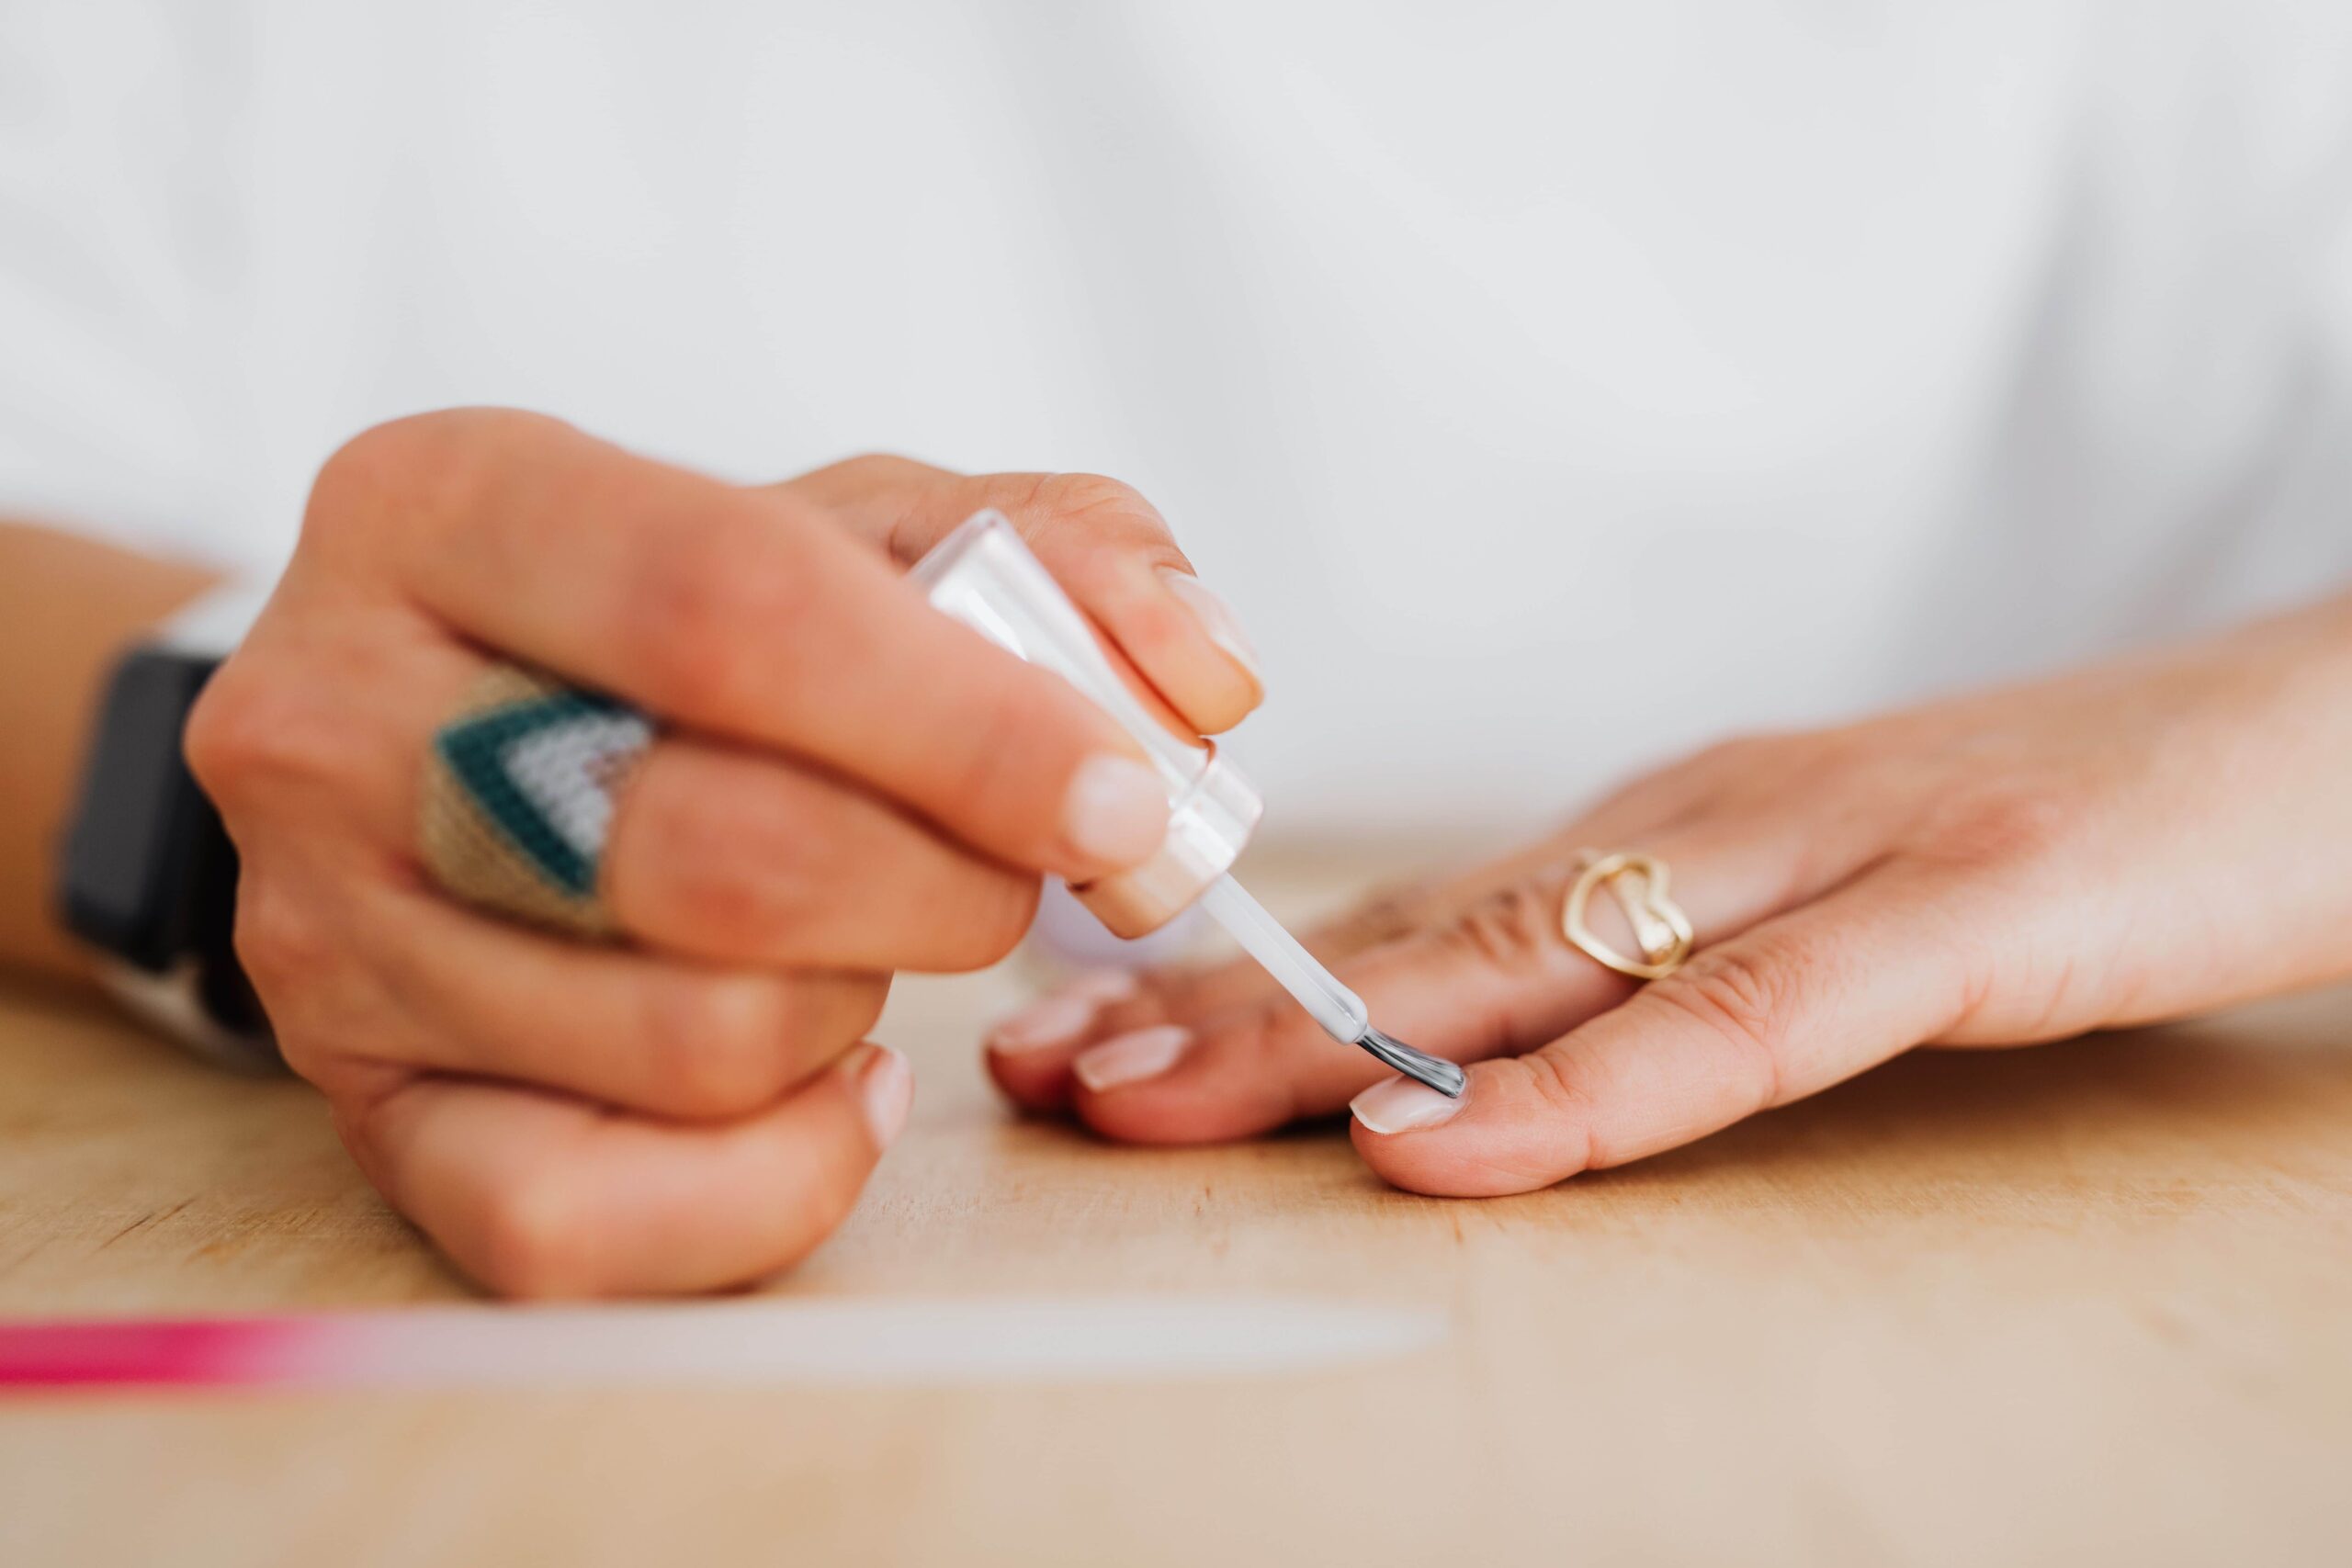
Preparing Your Nails for Long-Lasting Results
No matter which trend you choose, proper preparation is essential for achieving a professional-looking finish. Start by shaping your nails and gently pushing back the cuticles. Removing excess oils from the nail surface helps the gel adhere more effectively.
Buffing lightly creates a smooth base without damaging the nail. Applying a quality primer and base coat ensures that the polish stays in place and resists chipping. Skipping these steps can lead to uneven results and reduced longevity.
Consistency is also important. Taking the time to cure each layer properly prevents smudging and helps maintain the integrity of the design. Rushing through the process often leads to imperfections that can affect the final look.
By focusing on preparation, you set the stage for a manicure that looks refined and lasts longer.
Refining Your Technique for Better Results
Mastering these gel trends takes practice, but small adjustments can lead to noticeable improvements. Working in thin layers allows for better control and helps prevent buildup that can dull the finish. It also ensures that each layer cures properly.
Lighting conditions can influence how you see the effects as you work. Good lighting allows you to catch uneven areas or missed spots early in the process. Keeping your workspace organized also helps maintain focus and efficiency.
Another helpful tip is to practice on nail swatches before applying a new technique to your own nails. This gives you a chance to experiment with pressure, product amounts, and application methods without affecting your final result.
Over time, these techniques become more intuitive, making it easier to recreate even the most intricate designs at home.
Conclusion
Glazed, velvet, and chrome nails each bring a unique element to modern gel manicures, combining style with artistry in ways that are both eye-catching and versatile. While these trends may seem advanced, they are well within reach for anyone willing to learn the techniques and invest in proper preparation. By focusing on precision, patience, and quality tools, you can achieve polished, professional-looking results from the comfort of your own home.